There are some limitations of Kylin ODBC driver with Tableau, please read carefully this instruction before you try it.
- Only support “managed” analysis path, Kylin engine will raise exception for unexpected dimension or metric
- Please always select Fact Table first, then add lookup tables with correct join condition (defined join type in cube)
- Do not try to join between fact tables or lookup tables;
- You can try to use high cardinality dimensions like seller id as Tableau Filter, but the engine will only return limited seller id in Tableau’s filter now.
For Tableau 9.x User
Please refer to Tableau 9.x Tutorial for detail guide.
Step 1. Install Kylin ODBC Driver
Refer to this guide: Kylin ODBC Driver Tutorial.
Step 2. Connect to Kylin Server
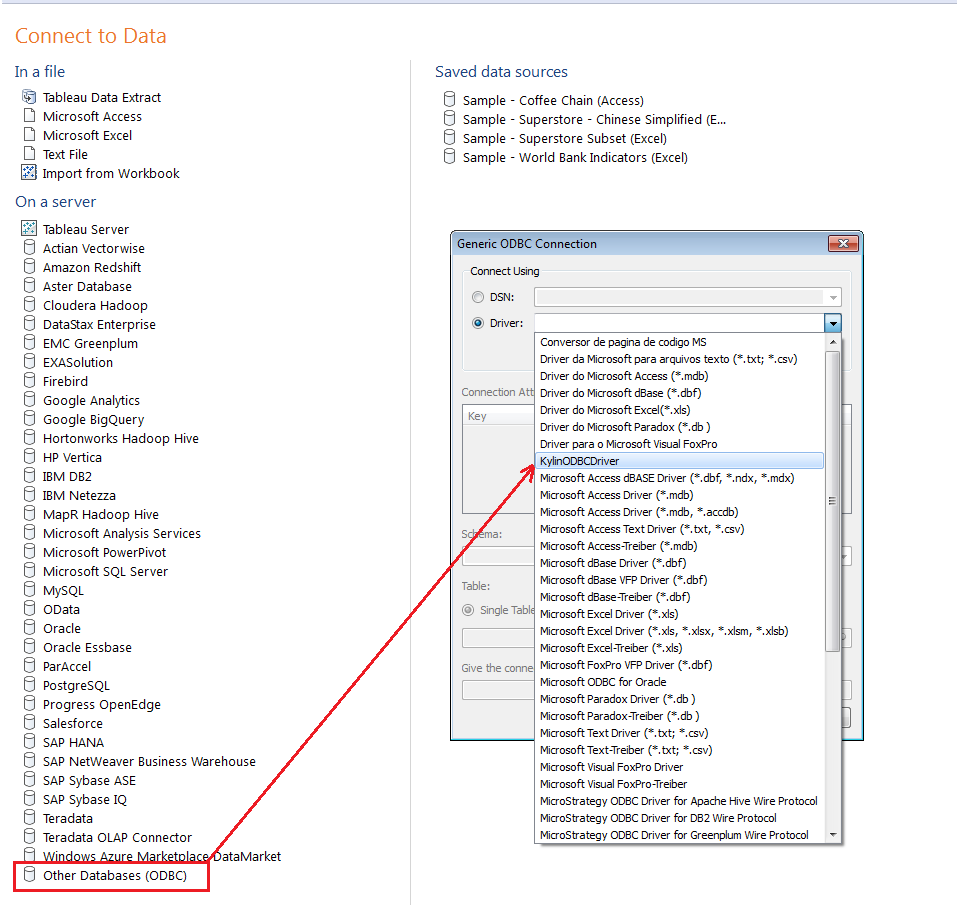
We recommended to use Connect Using Driver instead of Using DSN.
Connect Using Driver: Select “Other Database(ODBC)” in the left panel and choose KylinODBCDriver in the pop-up window.
Enter your Sever location and credentials: server host, port, username and password.
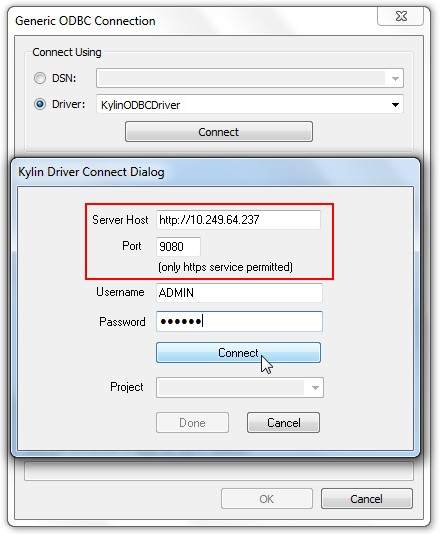
Click “Connect” to get the list of projects that you have permission to access. See details about permission in Kylin Cube Permission Grant Tutorial. Then choose the project you want to connect in the drop down list.
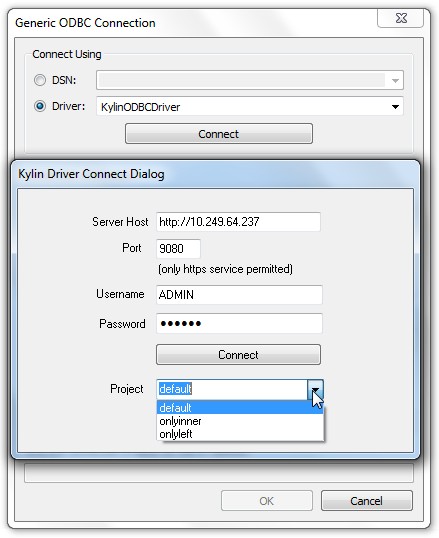
Click “Done” to complete the connection.

Step 3. Using Single Table or Multiple Tables
Limitation
- Must select FACT table first
- Do not support select from lookup table only
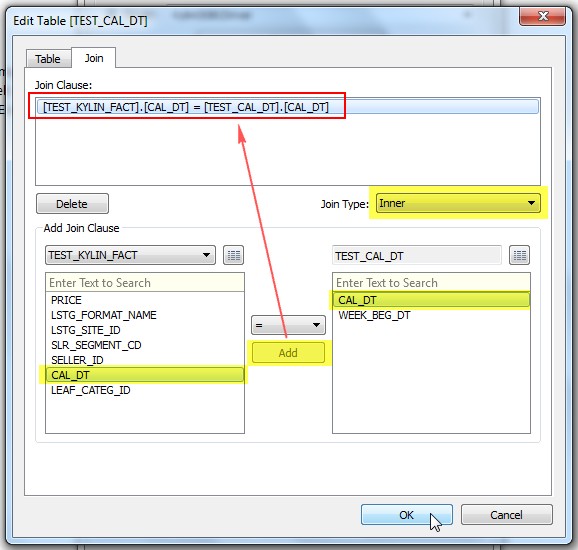
- The join condition must match within cube definition
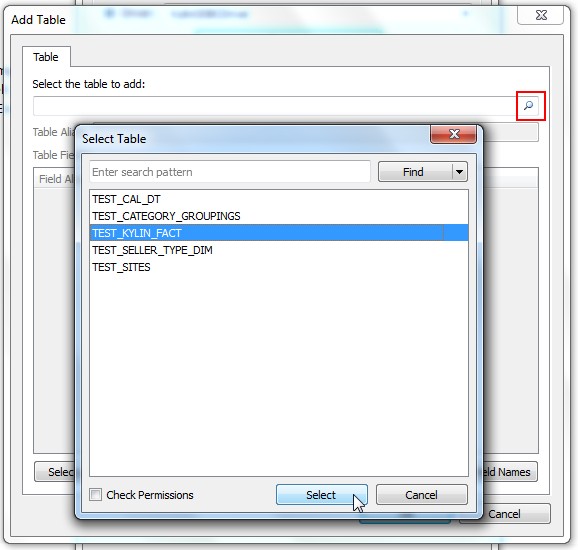
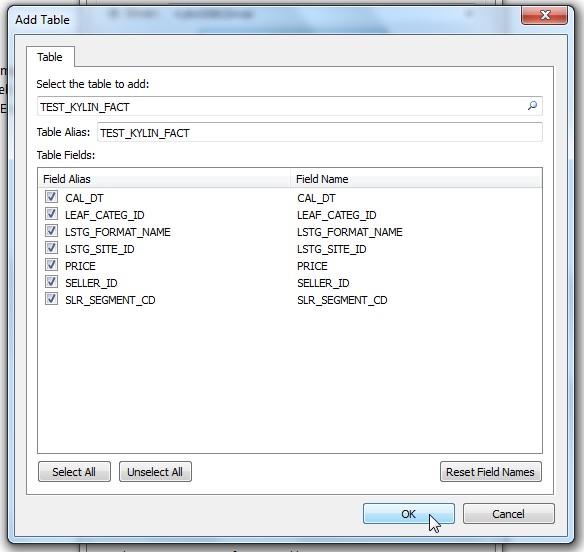
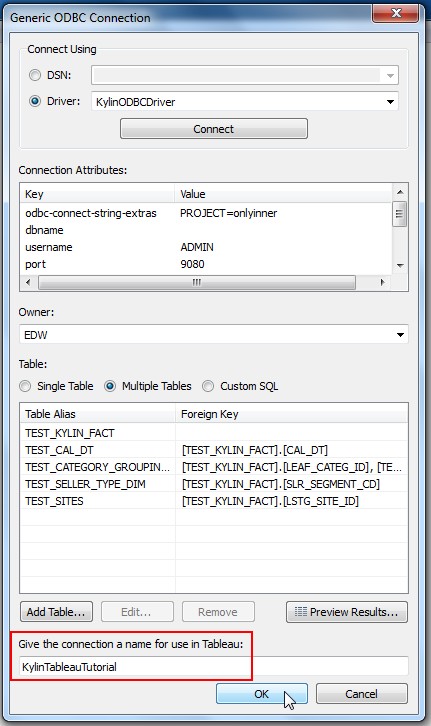
Select Fact Table
Select Multiple Tables.

Then click Add Table... to add a fact table.
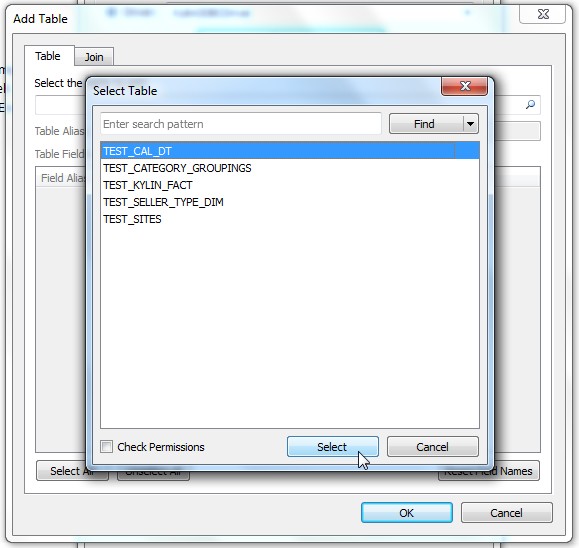
Select Look-up Table
Click Add Table... to add a look-up table.
Set up the join clause carefully.
Keep add tables through click Add Table... until all the look-up tables have been added properly. Give the connection a name for use in Tableau.
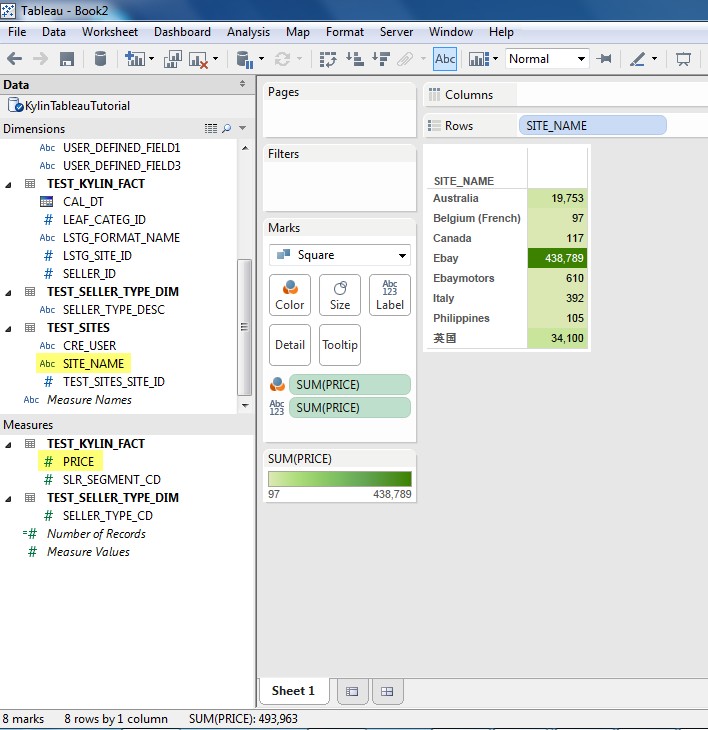
Using Connect Live
There are three types of Data Connection. Choose the Connect Live option.

Then you can enjoy analyzing with Tableau.
Add additional look-up Tables
Click Data in the top menu bar, select Edit Tables... to update the look-up table information.

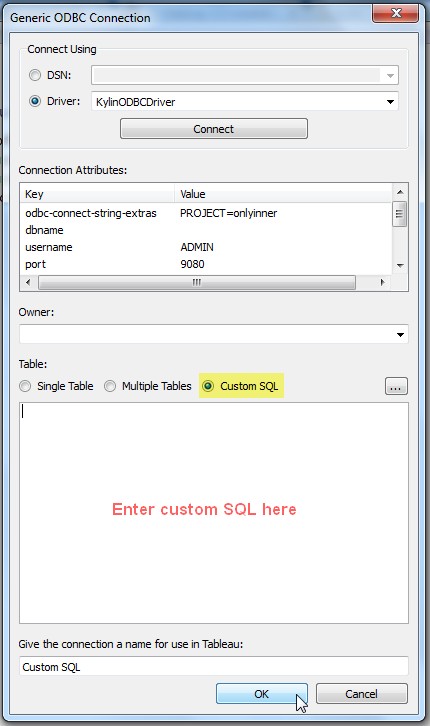
Step 4. Using Customized SQL
To use customized SQL resembles using Single Table/Multiple Tables, except that you just need to paste your SQL in Custom SQL tab and take the same instruction as above.
Step 5. Publish to Tableau Server
Suppose you have finished making a dashboard with Tableau, you can publish it to Tableau Server.
Click Server in the top menu bar, select Publish Workbook....
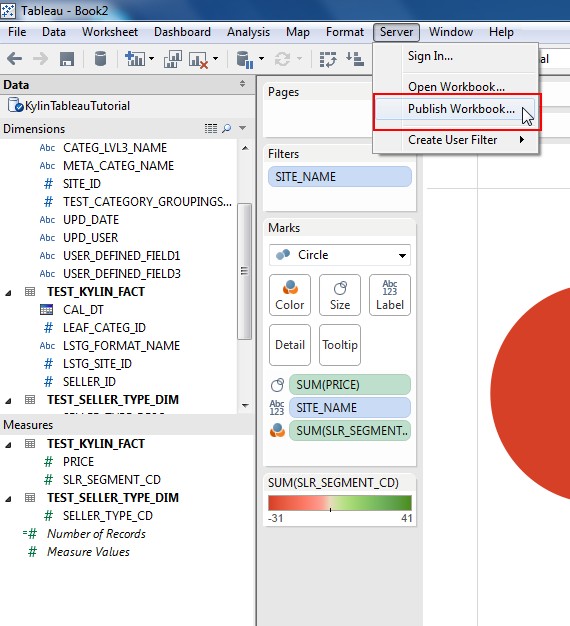
Then sign in your Tableau Server and prepare to publish.
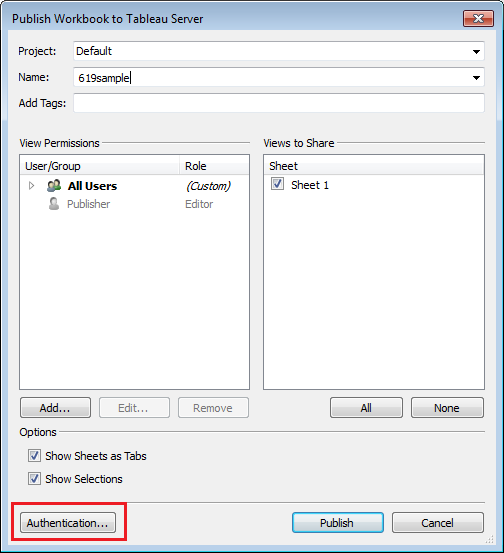
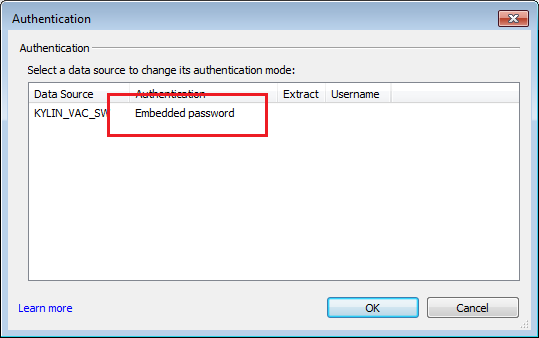
If you’re Using Driver Connect instead of DSN connect, you’ll need to additionally embed your password in. Click the Authentication button at left bottom and select Embedded Password. Click Publish and you will see the result.
Tips
-
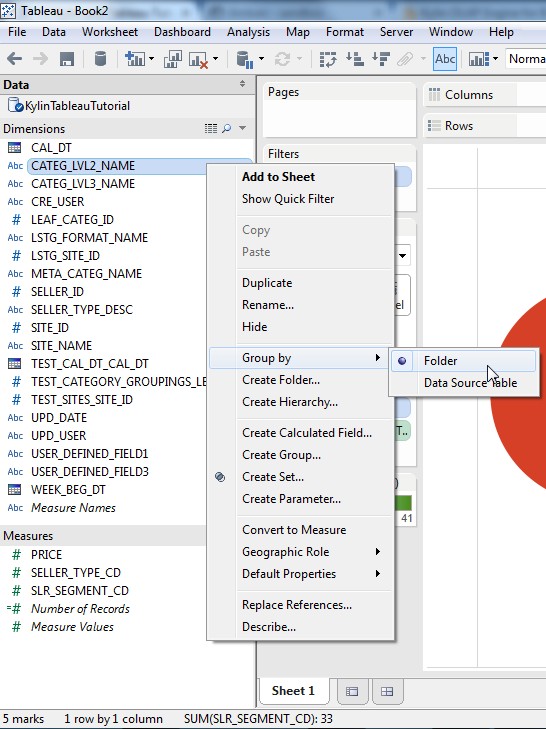
Hide Table name in Tableau
- Tableau will display columns be grouped by source table name, but user may want to organize columns with different structure. Using “Group by Folder” in Tableau and Create Folders to group different columns.