
This tutorial will guide you to create a cube. It need you have at least 1 sample table in Hive. If you don’t have, you can follow this to create some data.
I. Create a Project
-
Go to
Modelpage in top menu bar, then clickManage Projects.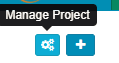
-
Click the
+ Projectbutton to add a new project. -
Enter a project name, e.g, “Tutorial”, with a description (optional) and the overwritten Kylin configuration properties (optional), then click
submitbutton.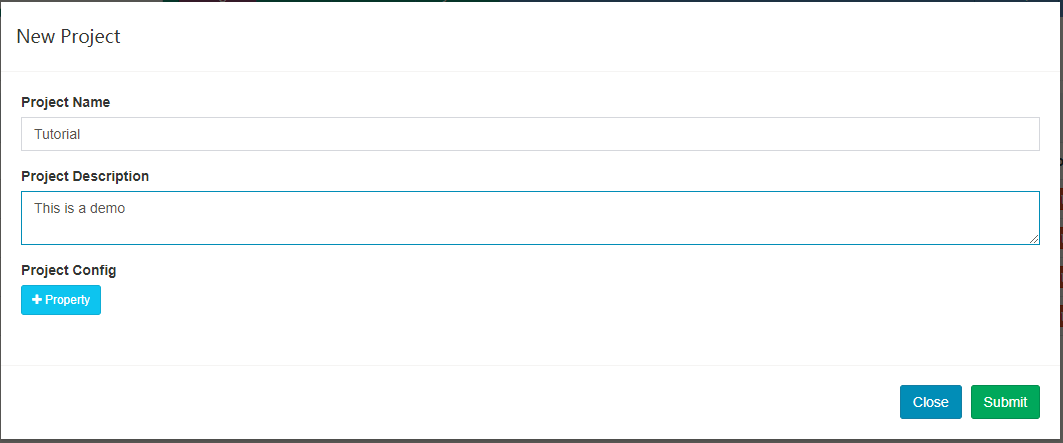
-
After success, the project will show in the table. You can switch the current project with the dropdown in the top of the page.

II. Sync up Hive Table
-
Click
Modelin top bar and then clickData Sourcetab in the left part, it lists all the tables loaded into Kylin; clickLoad Tablebutton.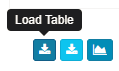
-
Enter the hive table names, separated with comma, and then click
Sync.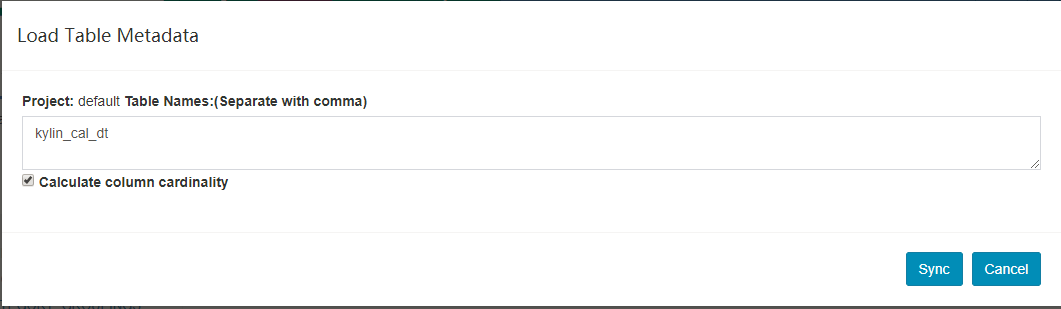
-
[Optional] If you want to browser the hive database to pick tables, click the
Load Table From Treebutton.
-
[Optional] Expand the database node, click to select the table to load, and then click
Sync.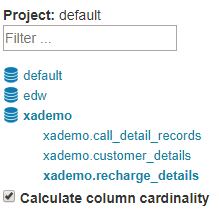
-
In the left
Tablessection, the newly loaded table is added. Click the table name will shows the columns.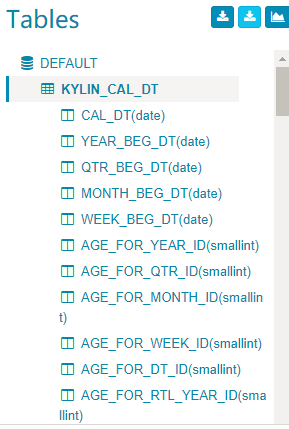
-
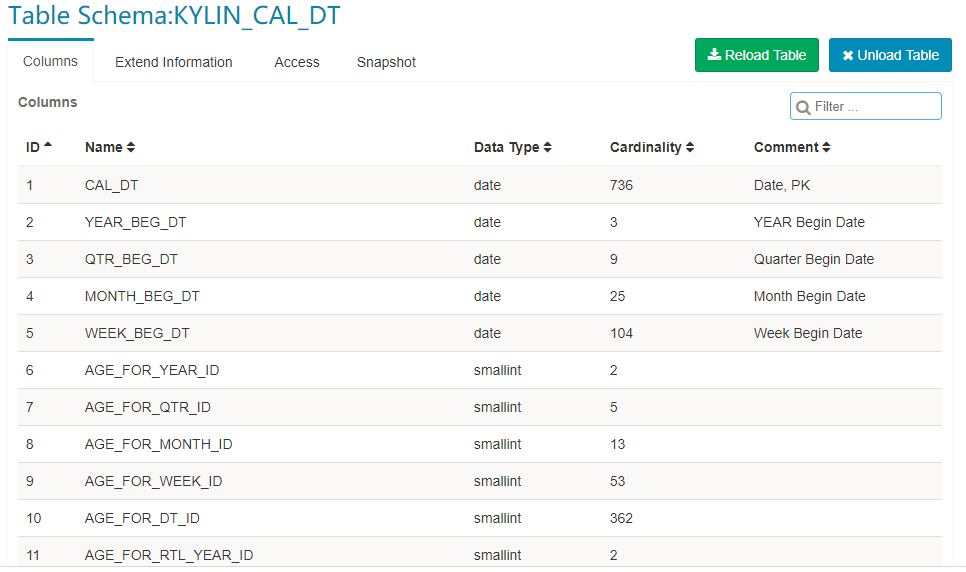
In the background, Kylin will run a MapReduce job to calculate the approximate cardinality for the newly synced table. After the job be finished, refresh web page and then click the table name, the cardinality will be shown in the table info.
III. Create Data Model
Before creating a cube, you need to define a data model. The data model defines a star/snowflake schema. But it doesn’t define the aggregation policies. One data model can be referenced by multiple cubes.
-
Click
Modelin top bar, and then clickModelstab. Click+Newbutton, in the drop-down list selectNew Model.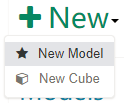
-
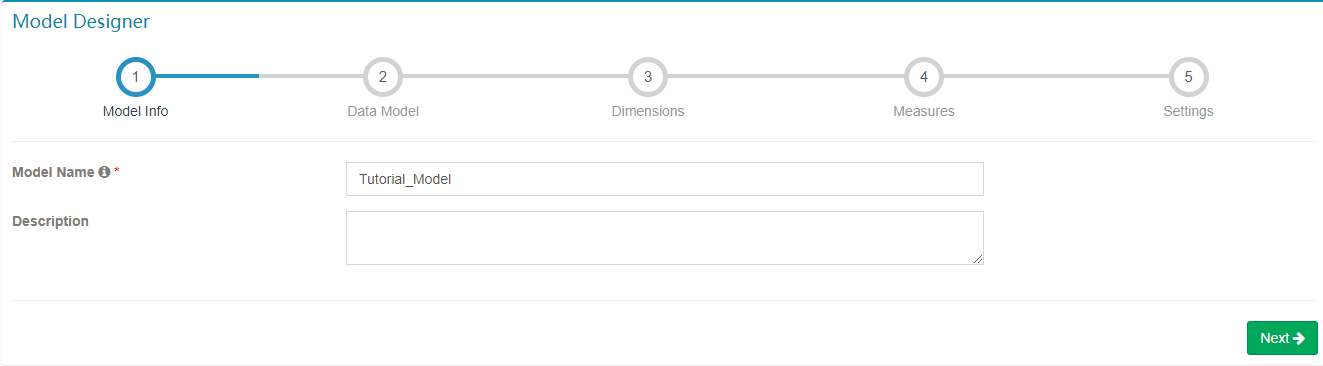
Enter a name for the model, with an optional description.
-
In the
Fact Tablebox, select the fact table of this data model.
-
[Optional] Click
Add Lookup Tablebutton to add a lookup table. Select the table name and join type (inner join or left join).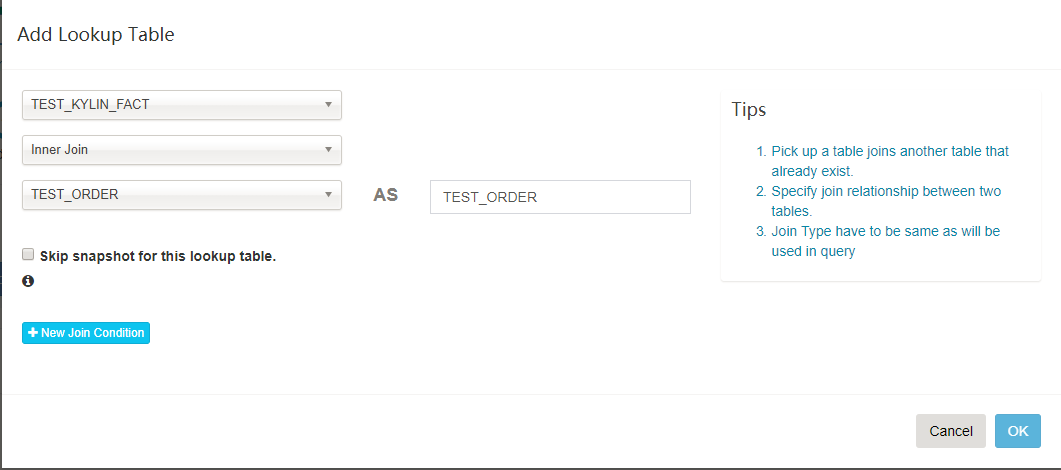
-
Click
New Join Conditionbutton, select the FK column of fact table in the left, and select the PK column of lookup table in the right side. Repeat this step if have more than one join columns.

-
Click “OK”, repeat step 4 and 5 to add more lookup tables if any. After finished, click “Next”.
-
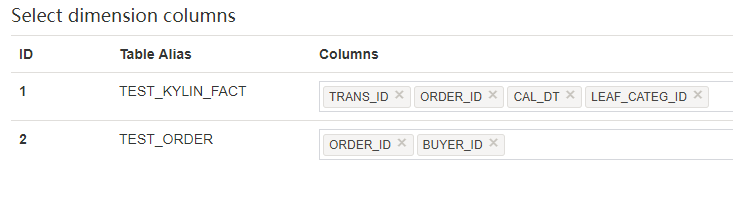
The “Dimensions” page allows to select the columns that will be used as dimension in the cubes. Click the
Columnscell of a table, in the drop-down list select the column to the list. Usually all “Varchar”, “String”, “Date” columns should be declared as dimension. Only a column in this list can be added into a cube as dimension, so please add all possible dimension columns here.
-
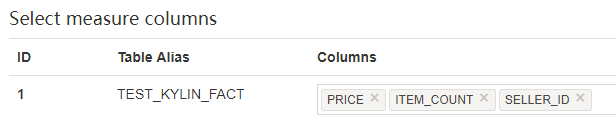
Click “Next” go to the “Measures” page, select the columns that will be used in measure/metrics. The measure column can only from fact table. Usually the “long”, “int”, “double”, “decimal” columns are declared as measures.
-
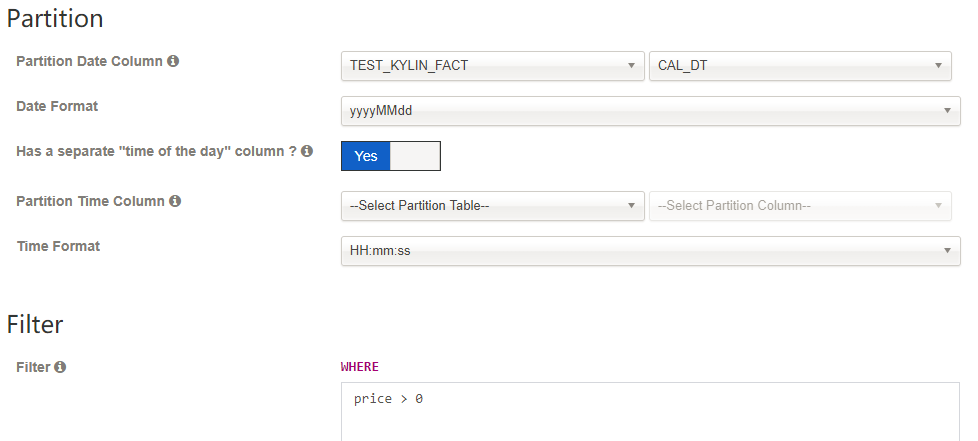
Click “Next” to the “Settings” page. If the data in fact table increases by day, select the corresponding date column in the
Partition Date Column, and select the date format, otherwise leave it as blank. -
[Optional] Choose whether has a separate “time of the day” column, by default it is
No. If chooseYes, select the corresponding time column in thePartition Time Column, and select the time format.
-
[Optional] If some conditions need to be applied when extracting data from Hive, you can input the condition in
Filter. -
Click
Saveand then selectYesto save the data model. After created, the data model will be shown in the leftModelslist.
IV. Create Cube
After the data model be created, you can start to create a cube.
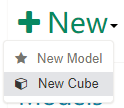
Click Model in top bar, and then click Models tab. Click +New button, in the drop-down list select New Cube.
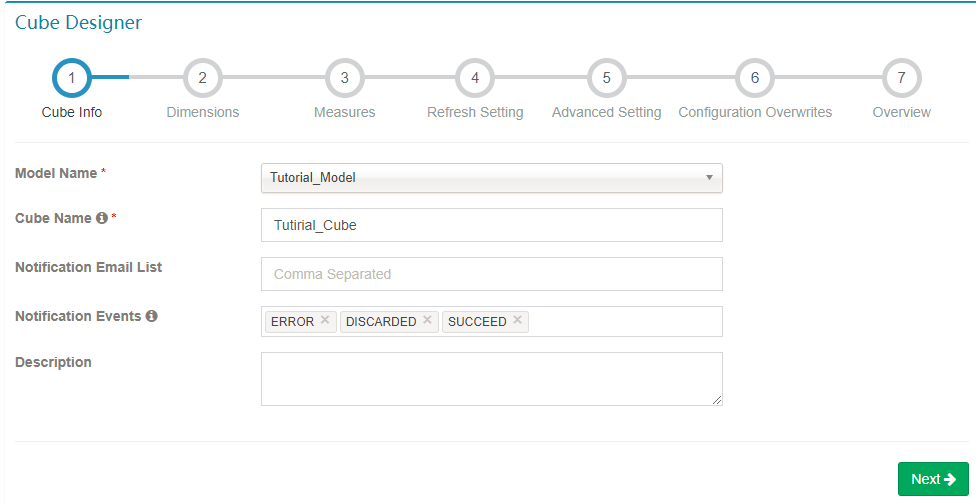
Step 1. Cube Info
Select the data model, enter the cube name; Click Next to enter the next step.
You can use letters, numbers and ‘_’ to name your cube (blank space in name is not allowed). Notification Email List is a list of email addresses which be notified on cube job success/failure. Notification Events is the status to trigger events.
Step 2. Dimensions
-
Click
Add Dimension, it pops up a window: tick columns that you need from FactTable and LookupTable. There are two options for LookupTable columns: “Normal” and “Derived” (default). “Normal” is to add a normal independent dimension column, “Derived” is to add a derived dimension column (deriving from the FK of the fact table). Read more in How to optimize cubes.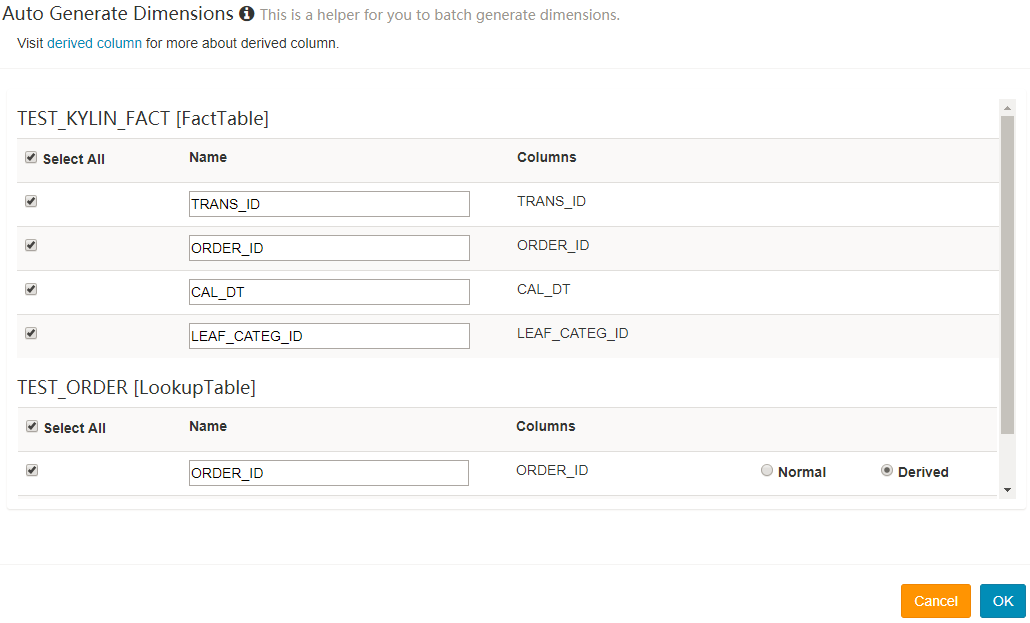
-
Click “Next” after select all other dimensions.
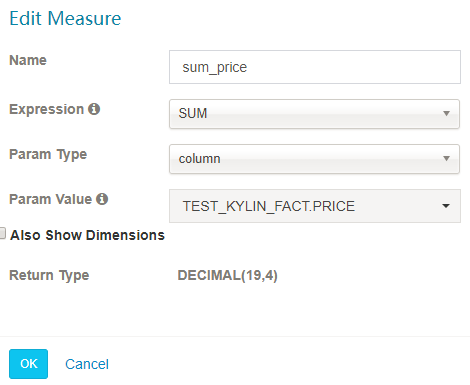
Step 3. Measures
-
Click the
+Measureto add a new measure.
-
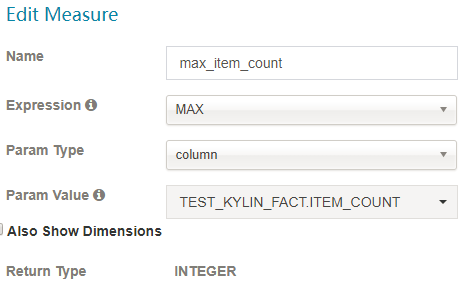
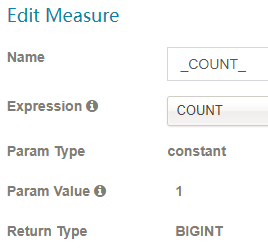
There are 8 types of measure according to its expression:
SUM,MAX,MIN,COUNT,COUNT_DISTINCT,TOP_N,EXTENDED_COLUMNandPERCENTILE. Properly select the return type forCOUNT_DISTINCTandTOP_N, as it will impact on the cube size.-
SUM
-
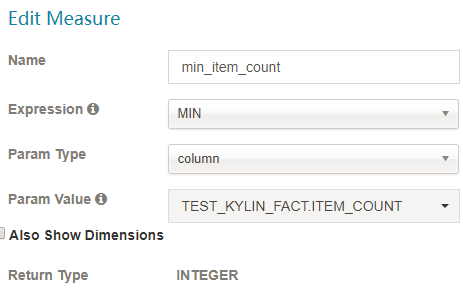
MIN
-
MAX
-
COUNT
-
DISTINCT_COUNT
This measure has two implementations:
a) approximate implementation with HyperLogLog, select an acceptable error rate, lower error rate will take more storage.
b) precise implementation with bitmap (see limitation in https://issues.apache.org/jira/browse/KYLIN-1186).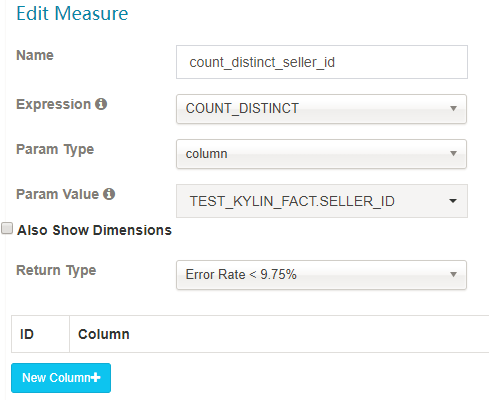
Pleaste note: distinct count is a very heavy data type, it is slower to build and query comparing to other measures.
- TOP_N
Approximate TopN measure pre-calculates the top records in each dimension combination, it will provide higher performance in query time than no pre-calculation; Need specify two parameters here: the first is the column will be used as metrics for Top records (aggregated with SUM and then sorted in descending order); the second is the literal ID, represents the entity like seller_id;
Properly select the return type, depends on how many top records to inspect: top 10, top 100, top 500, top 1000, top 5000 or top 10000.
Note: If you want to useTOP_N, you should also add aSUMmeasure for the “ORDER | SUM by Column”. For example, if your creates a measure of Top100 seller_id by the sum of price, it is also should create a measure of SUM(price).
-
-
EXTENDED_COLUMN
Extended_Column as a measure rather than a dimension is to save space. One column with another column can generate new columns.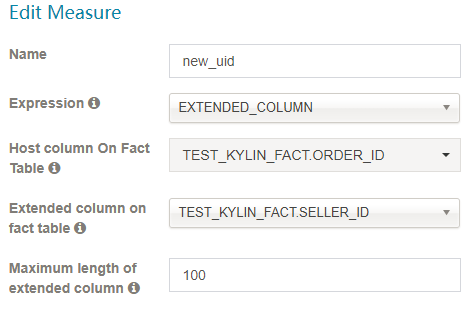
-
PERCENTILE
Percentile represent the percentage. The larger the value, the smaller the error. 100 is the most suitable.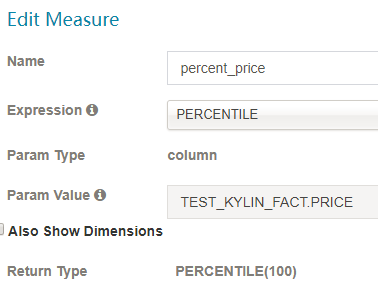
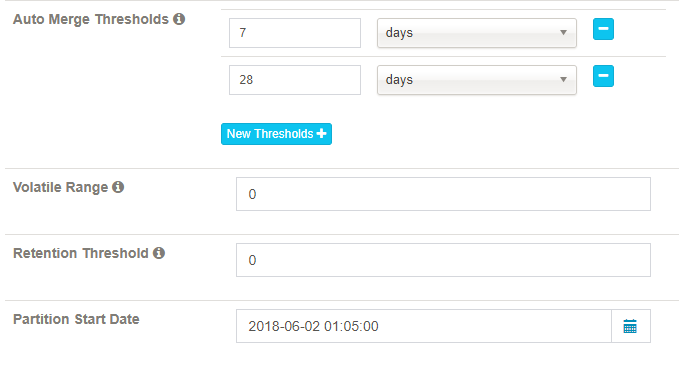
Step 4. Refresh Setting
This step is designed for incremental cube build.
Auto Merge Thresholds: merge the small segments into medium and large segment automatically. If you don’t want to auto merge, remove the default two ranges.
Volatile Range: by default it is 0, which will auto merge all possible cube segments, or ‘Auto Merge’ will not merge latest [Volatile Range] days cube segments.
Retention Threshold: only keep the segment whose data is in past given days in cube, the old segment will be automatically dropped from head; 0 means not enable this feature.
Partition Start Date: the start date of this cube.
Step 5. Advanced Setting
Aggregation Groups: The dimensions can be divided into multiple groups, each group is called an “agg group”. By default Kylin put all dimensions into one aggregation group. When you have many dimensions, that will cause cube explosion. You can create multiple agg groups by knowing well about your query patterns. In each agg group, you can use the concepts of “Mandatory Dimensions”, “Hierarchy Dimensions” and “Joint Dimensions” to further optimize the dimension combinations.
Mandatory Dimensions: Dimensions that appears always. For example, if all your queries have “ORDER_DATE” as the group by or filtering condition, then it can be marked as mandatory. The cuboids that doesn’t have this dimension can be omitted for building.
Hierarchy Dimensions: For example “Country” -> “State” -> “City” is a logic hierarchy; The cuboids that doesn’t comply with this hierarchy can be omitted for building, for example [“STATE”, “CITY”], [“CITY”]. When defining a hierarchy, put the parent level dimension before the child level dimension.
Joint Dimensions:Some dimensions will always appear together, or their cardinality is close (near 1:1). For example, “user_id” and “email”. Defining them as a joint relationship, then the cuboids only has partial of them can be omitted.
For more please read this blog: New Aggregation Group
Rowkeys: the rowkeys are composed by the dimension encoded values. “Dictionary” is the default encoding method; If a dimension is not fit with dictionary (e.g., cardinality > 10 million), select “false” and then enter the fixed length for that dimension, usually that is the max length of that column; if a value is longer than that size it will be truncated. Please note, without dictionary encoding, the cube size might be much bigger.
You can drag & drop a dimension column to adjust its position in rowkey; Put the mandatory dimension at the beginning, then followed the dimensions that heavily involved in filters (where condition). Put high cardinality dimensions ahead of low cardinality dimensions.
Mandatory Cuboids: Whitelist of the cuboids that you want to build.
Cube Engine: The engine for building cube. There are 2 engines: MapReduce and Spark. If your cube only has simple measures (COUNT, SUM, MIN, MAX), Spark can gain better performance; If cube has complex measures (COUNT DISTINCT, TOP_N), MapReduce is more stable.
Advanced Dictionaries: “Global Dictionary” is the default dictionary for precise count distinct measure, it can ensure one value always be encoded into one consistent integer, so it can support “COUNT DISTINCT” rollup among multiple segments. But global dictionary may grow to very big size as time go.
“Segment Dictionary” is a special dictionary for precise count distinct measure, which is built on one segment and could not support rollup among segments. Its size can be much smaller than global dictionary. Specifically, if your cube isn’t partitioned or you can ensure all your SQLs will group by your partition_column, you could use “Segment Dictionary” instead of “Global Dictionary”.
Please note: “Global Dictionary” and “Segment Dictionary” are one-way dictionary for COUNT DISTINCT (converting a non-integer value to integer for bitmap), they couldn’t be used as the encoding for a dimension.
Advanced Snapshot Table: design for global lookup table and provide different storage type.
Advanced ColumnFamily: If there are more than one ultra-high cardinality precise count distinct or TopN measures, you could divide these measures to more column family to optimize the I/O from HBase.
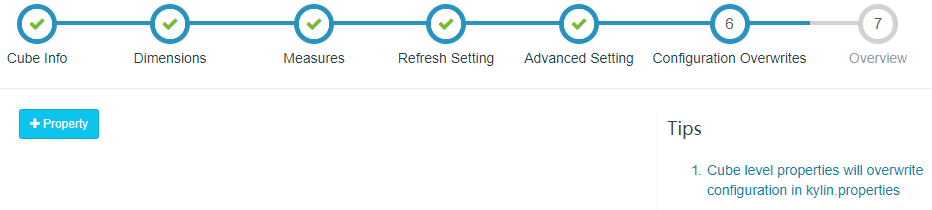
Step 6. Configuration Overwrites
Kylin allows overwritting system configurations (conf/kylin.properties) at Cube level . You can add the key/values that you want to overwrite here. If you don’t have anything to config, click Next button.
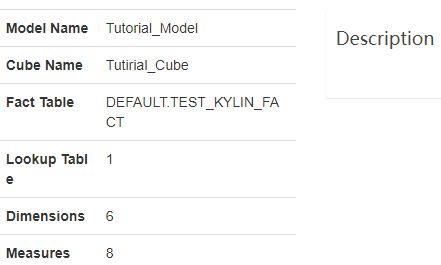
Step 7. Overview & Save
You can overview your cube and go back to previous step to modify it. Click the Save button to complete the cube creation.
Cheers! Now the cube is created, you can go ahead to build and play it.