Project Access Control
Project ACLs determines whether a user/user group can access a certain project in Kylin. Kylin has four built-in project level permissions, Admin, Management, Operation and Query. Admin includes the other three permissions, Management includes Operation and Query permissions, Operation includes Query permissions.
- QUERY: Permission to query tables/models in the project. If pushdown is enabled, user/group can query tables loaded to the project when there's no ready model to answer the query.
- OPERATION: Permission to build a model in the project, including rebuild a segment, resume or discard jobs.
- MANAGEMENT: Permission to edit/delete models in the project.
- ADMIN: Permission to manage data sources, models in the project.
After the system administrator logs in to Kylin, click the Admin button in the global toolbar to enter the system management page, and click the Project field to enter the Project Management page.
After the system administrator assigns project access permission to a group, users in the group will inherit the access permission on data source, models and segments accordingly.
Grant Project ACL
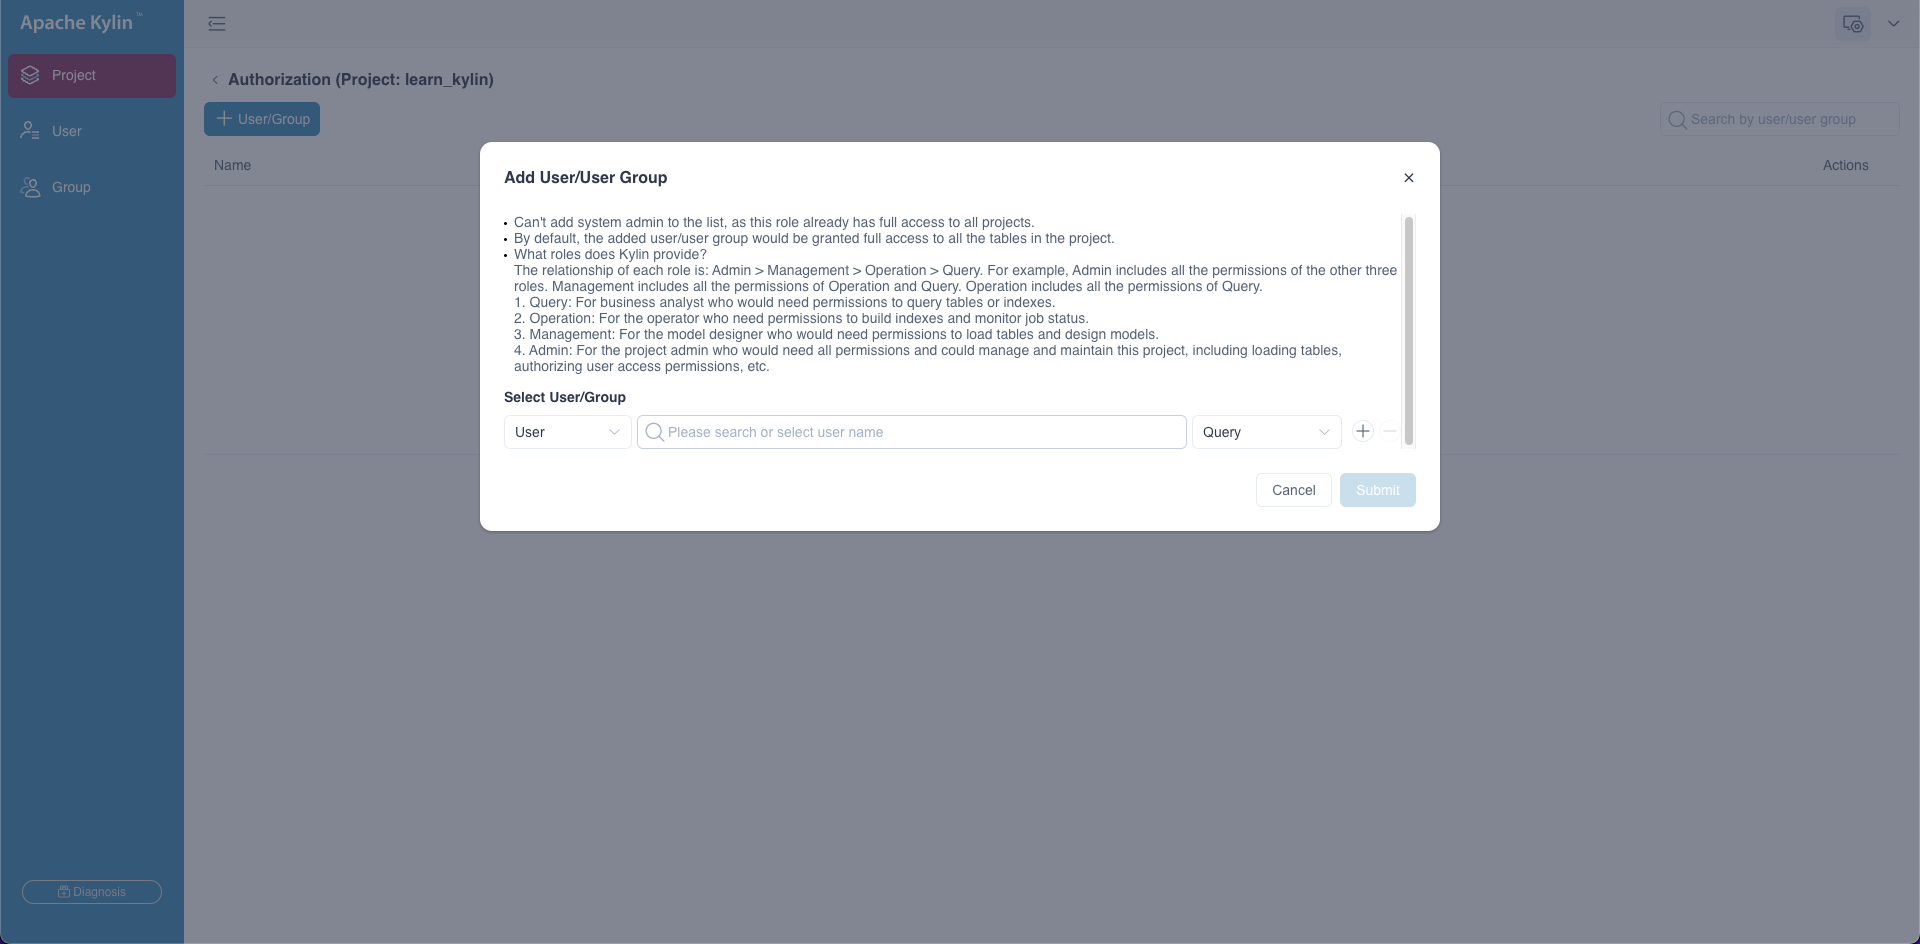
- Select the project and click the Authorization icon under the Actions column on the right to enter the authorization page.
- Expand a project on the project list.
- Click + User / Group to grant access for a user / user group.
- Select the grant type : by User or by User Group. Then select the user / user group and access permission to be granted, and click Submit.
Modify Project ACL
- Select the project and click the Authorization icon under the Actions column on the right to enter the authorization page.
- Select the user / user group in the list and click the Edit icon under the Actions column on the right.
- Modify user / user group's access permission and click Submit.
Revoke Project ACL
- Select the project and click the Authorization icon under the Actions column on the right to enter the authorization page.
- Select the user / user group in the list and click the Delete icon under the Actions column on the right.